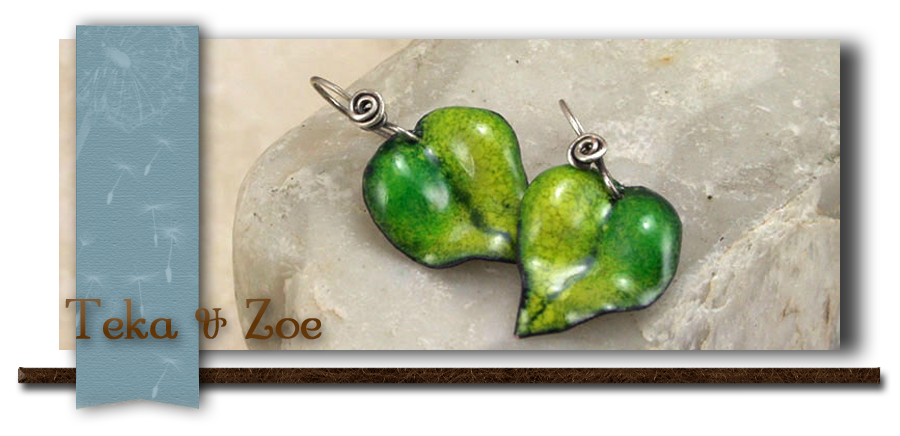
Sadly no time for blogging of late. Barely time to create. But I finally got these earrings done after months. I am in love with my newest creation.
Contact me directly at tekaandzoe.com
How fun to be participating in Tracy Statler's Wrapped, Stacked & Layered Bracelet Challenge.
I have really been wanting to create but life has just got in my way. So I decided to take the challenge and sign up. Then I had to get to it.
Of course....again you know..life.. Well here it is almost midnight the night before and I am still working. But by the time you read this. They will be done! YEAH!
There are 80 participants do make sure you check them all out and hopefully it will inspire you to create too. So check them out:
I have taken on a new venture Or should I say ADVENTURE. I have taken over a Jewelry supply and tool business called Fundametals from my dear freind Jeanette Blix Ryan. It has been a learning curve...bit is a bumpy start...kind of a wild ride....BUT wa are building up steam over at Fundametals. So to create a little buzzzzz I am having a giveaway of some cold hard fundamentals CASH! $25 bucks to shop with on fundametals.net. Do you need a new tool? How about some metal, wire, beads..oh my? PLUS I will ship your order to you FOR FREE! All you need to do is a few simple tasks....that are oh so easy. The more tasks you complete the more entries you will get. I have wanted to have a giveaway for a while but they are so hard to manage. But I found this really cool service called Rafflecopter. It takes care of all the entries for you. The more tasks you complete the more entries you will get. Now that is pretty cool. They are also having a giveaway on their website to win an Ipad. Go to their site to enter. Yeah! Free stuff!
To enter our contest just use the widget below. The more you tasks you complete the more entries you will get. Contest ends on the 12.01est 1/19/12..so hurry!
Last summer I was sooo lucky, after selling off some unused tools, to take the plunge and buy my hydraulic press. I researched and researched...Will it be the Shark Bite? The Bonny Doone? Then I stumbled onto the Potter USA website. I first I dismissed it, was it for ceramics(potters?)? I went around and asked others questions..read up on building my own. I do tend to obsess over the details when I am making a big decisions like this one. Then with more searching I found the Potter USA site again and this lead to Kevin Potter's You Tube channel. The videos of this guy totally enjoying his job..cutting and welding metal won me over. I then ask him a bazzillion questions which he patiently answered. So my order was placed...once it arrived...It was Love at first site! Or should I say first squeeze! I thought of making a video showing you how they work. But how much better could it be to see Kevin himself explaining how a blanking die (or pancake die) works with a 20-ton press. The press can do a multitude of tasks. Cutting metals blanks is just one of them. Thus the term "blanking die". This is a sample of what a pancake die looks like:Here is Kevin demonstrating how to cut with the die:
This is a necklace I made using this very die. I first cut it out of copper, shaped it with some reposse and dapping tools. Then I enameled it:
More about the press later.
Michelle Mahler Teka and Zoe and Fundametals.net
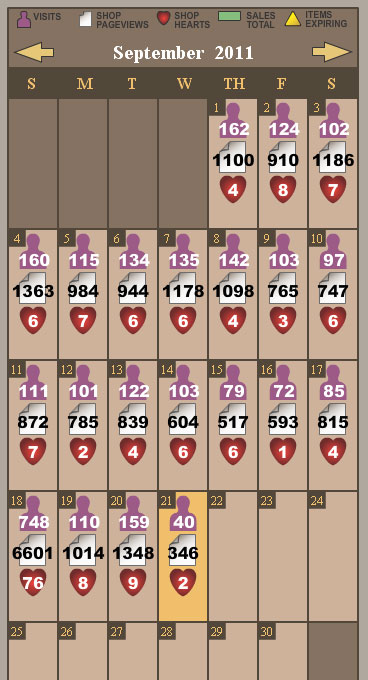
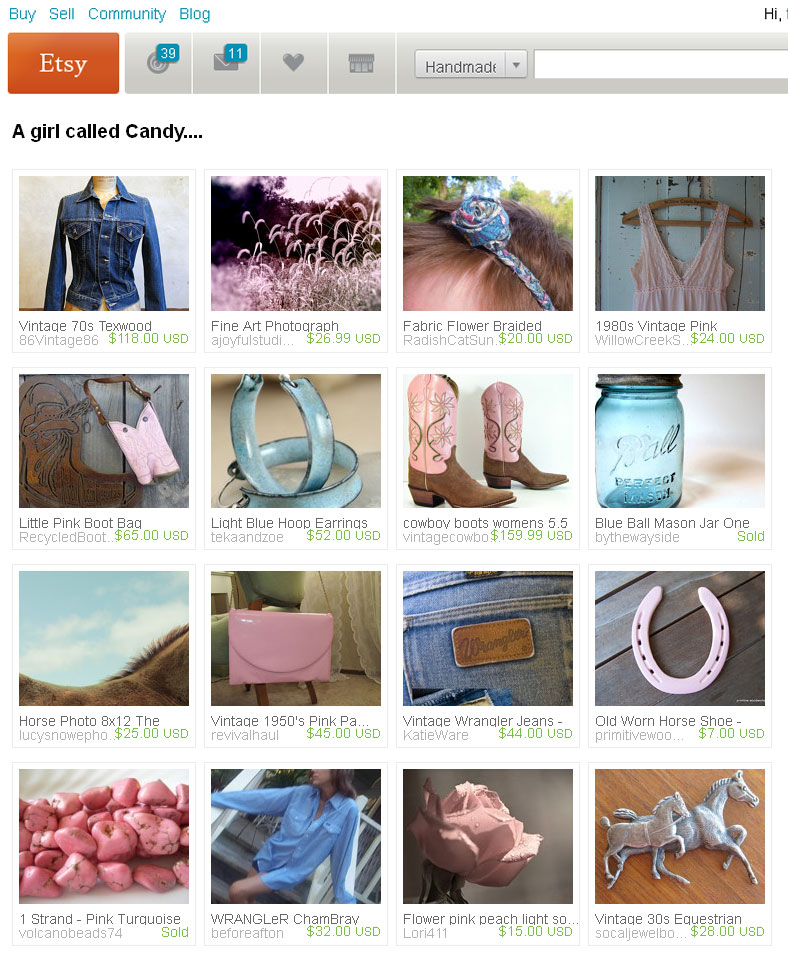
From my previous post you see that I made it into a treasury that made it in the Front Page. That tiny little window in time is so important. There are so many items on Etsy it is very hard to be found. And to make matters worse Etsy changed the search method from a recency search to a relevancy search. I think for some items it is a good thing as you will get better results. But for us jewelry makers it is even harder to be found. You can imagine even if you have your titles right and all your key words right that is 5000 people are doing the same thing that it is the luck of the draw who is going to make it on say the first 10 pages of the search. Some customers may not even look down 10 pages. That being said I wanted to show you the power of a front page showing. The picture below is a screen shot of my shop on the Shop Lovers online tools on Craftopolis.com. The little purple man is the visits per that day in my shop, the white page is the page views in my shop ad the red heart is the hearts that day. I got the front page on Sept 18th. You can see the spike. The previous Sunday 873 page views...the day of the mention 6601. WOW! This is a big spike. Everything went up. Can you imagine my luck and wonder if it happened every day?? I would probably cry as I could not keep up. I have had a little spike in orders this week. But you never know what the hearts will lead to later.
p.s. not matter what i try i cannot get my picture to center. If you have any tips e-mail me.


 I thought of making a video showing you how they work. But how much better could it be to see Kevin himself explaining how a blanking die (or pancake die) works with a 20-ton press. The press can do a multitude of tasks. Cutting metals blanks is just one of them. Thus the term "blanking die". This is a sample of what a pancake die looks like:
 Here is Kevin demonstrating how to cut with the die:
This is a necklace I made using this very die. I first cut it out of copper, shaped it with some reposse and dapping tools. Then I enameled it:
Here is Kevin demonstrating how to cut with the die:
This is a necklace I made using this very die. I first cut it out of copper, shaped it with some reposse and dapping tools. Then I enameled it:
 More about the press later.
Michelle Mahler Teka and Zoe and Fundametals.net
More about the press later.
Michelle Mahler Teka and Zoe and Fundametals.net