Showing posts with label Photography. Show all posts

Wednesday, November 10, 2010

Photography Studio Set up

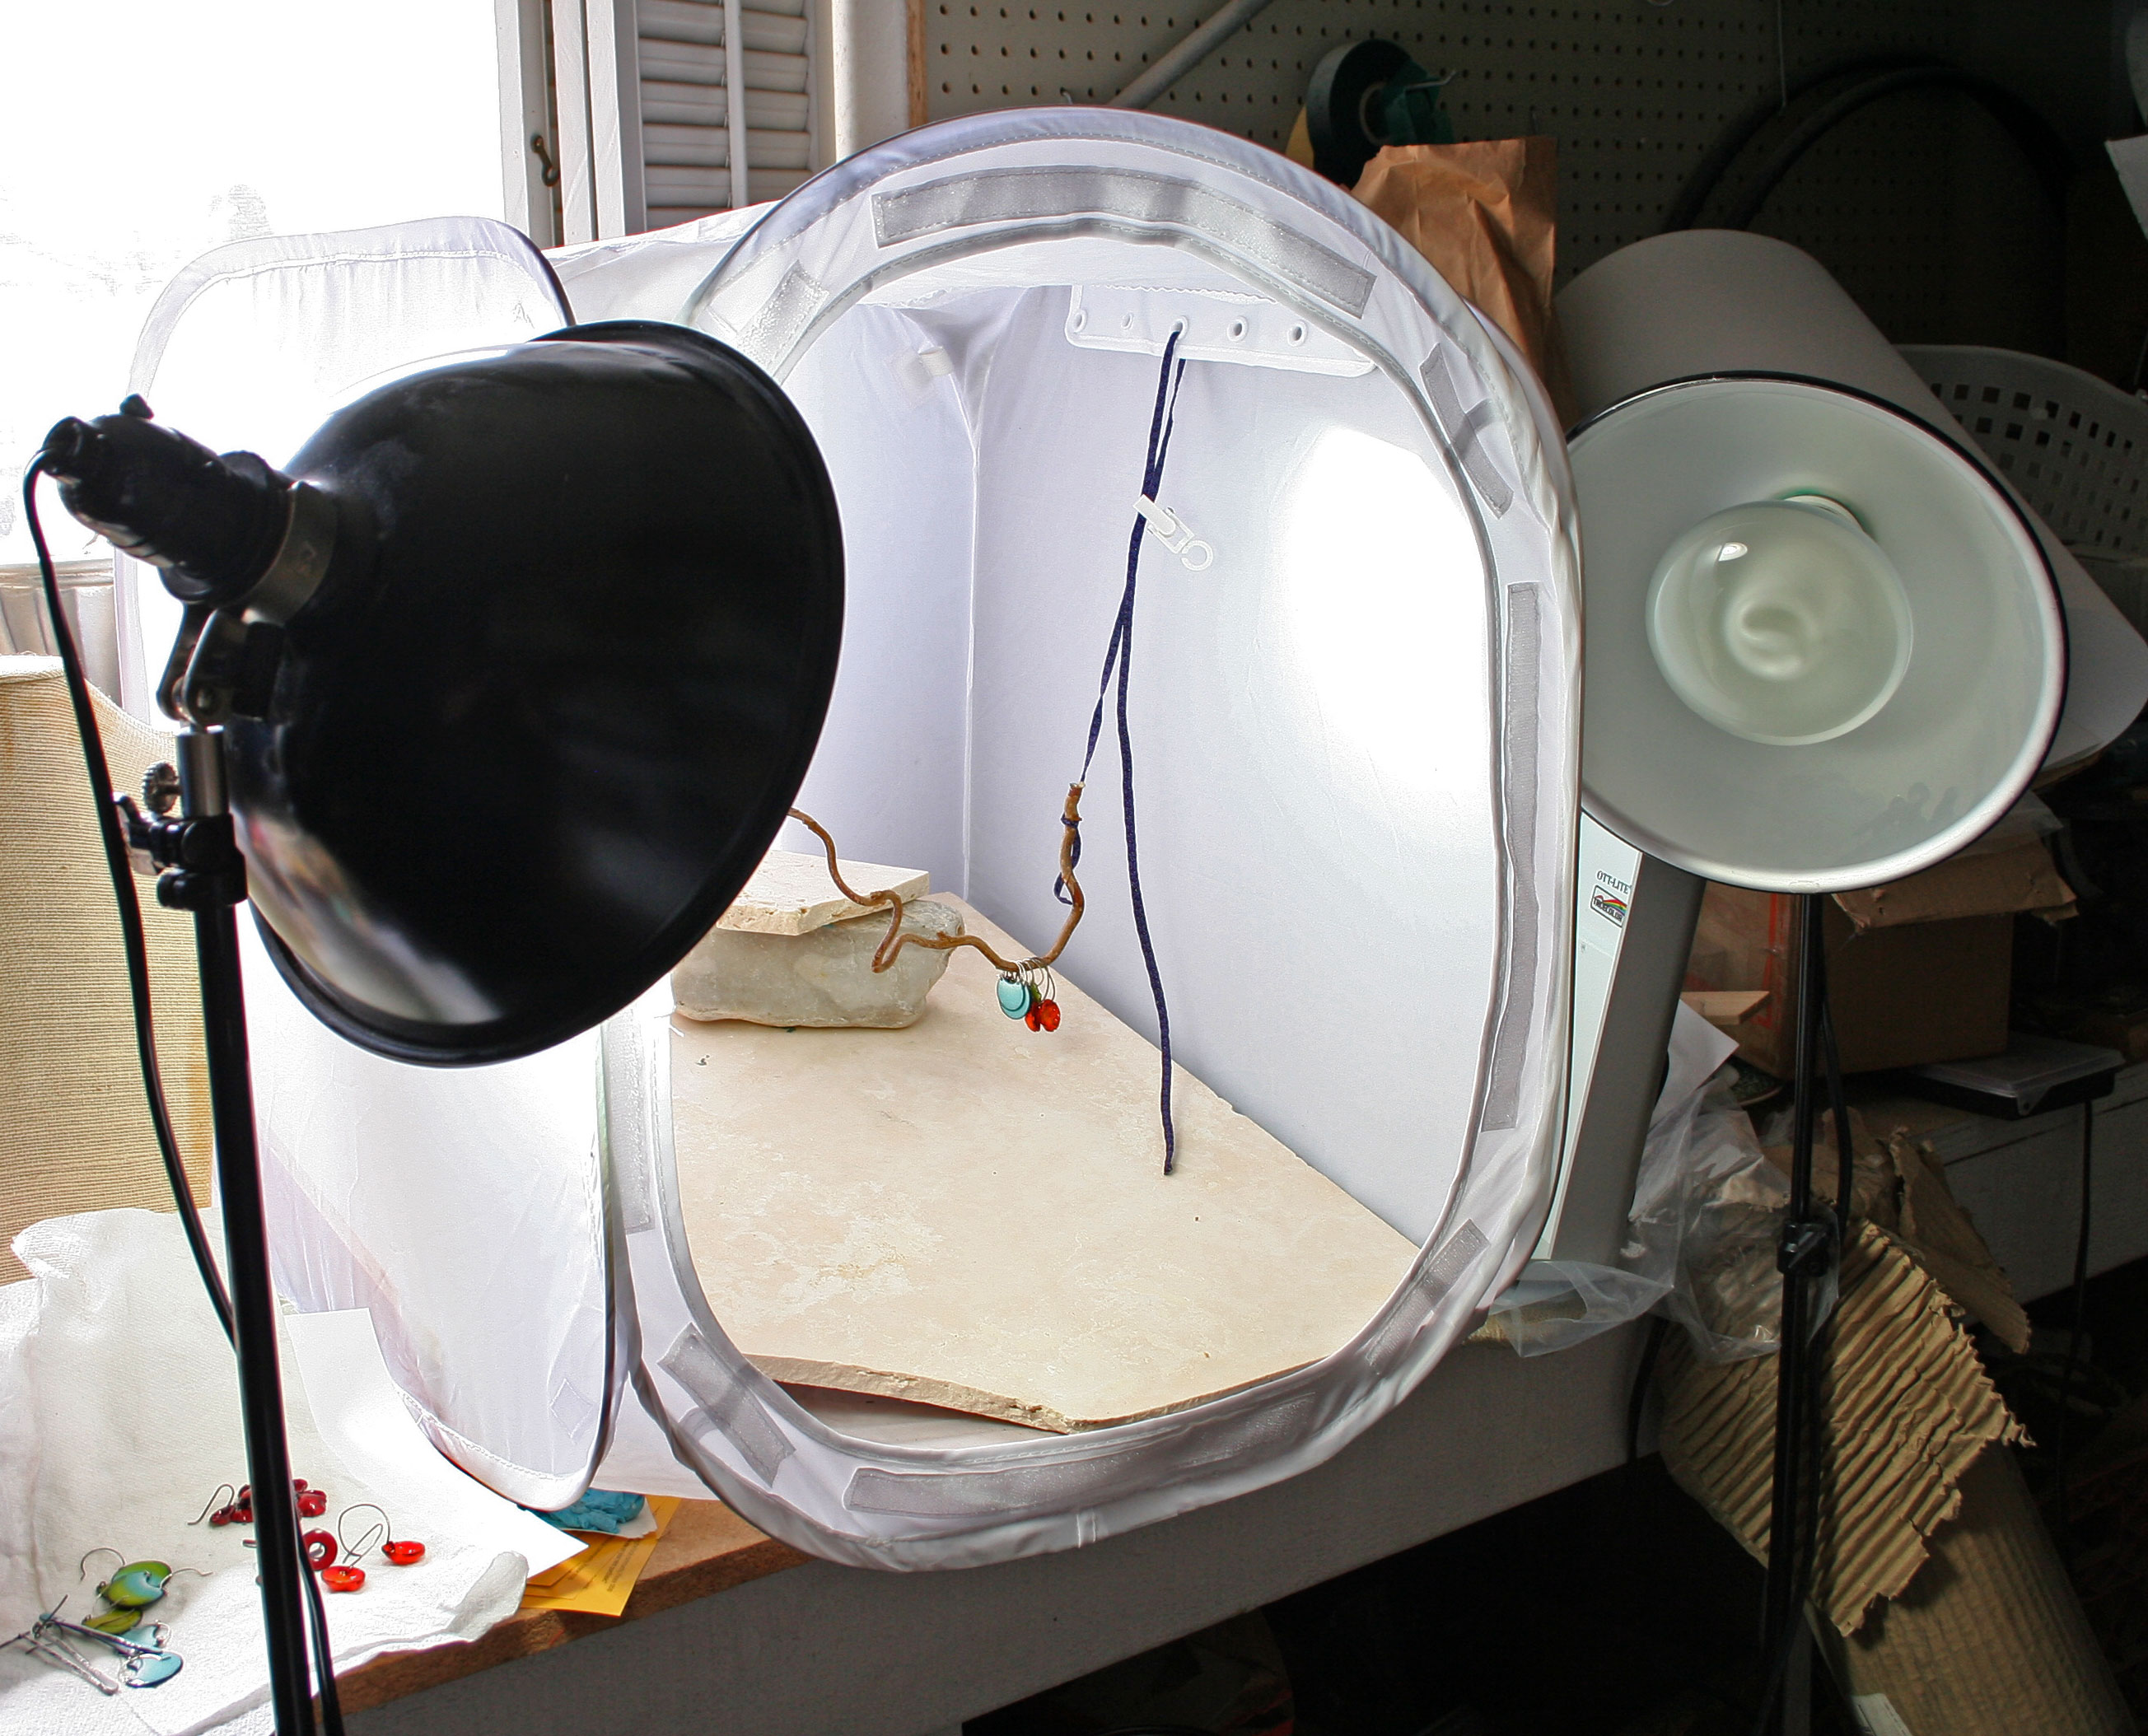
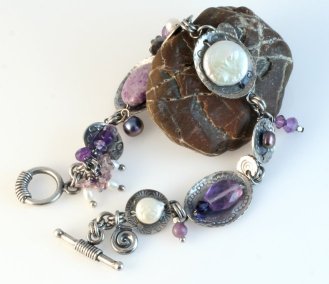
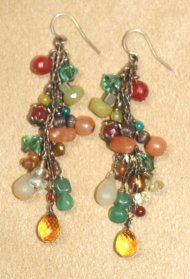
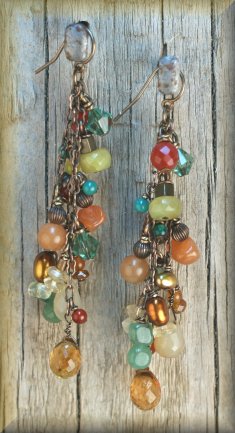
I while back I posted several articles on my trials and tribulations on Photography. It has taken me a long time to get to were I feel that I take reasonably good pictures of my goods. I never got to actually showing you what my set up looks like (see above). It isn't pretty as it is set up in the back garage. I have also learned since this picture was taken- Don't have natural light streaming in if you have bulb lighting. I actually use Trumpet Daylight bulbs now(to the right). I use these bulbs as they remain cool. I used to used regular photography bulbs but after being turned on for any hour they got HOT! Burn you hot! To mix the color of natural light with daylight bulbs it sometimes give me a pink cast. I fought it for a long time. YUCK! So I now close the blind and just use the bulbs and even have the same type of bulb in each light. My camera goes on a tripod in front of the tent. I have also added an additional light on top of the tent as sometimes at night it is too dark. Having 3 kids and working at home I do not have the luxury of taking pictures outside in the perfect nature light. I have also learned the hard way that if you adjust you exposure on your camera I have sometimes found it better to go a bit darker than overexposed which is harder to correct in editing. Also harsher light can mess with the color even when you use white balance. When you look in the picture above showing my setup you will see the piece of travertine I bought to shoot on. If I only knew...It has an annoying pink sometimes yellow undertone. Look for this kind of thing in your backdrop. I purchased a tan velvet paper once that had a weird red undertone when photographed. Not good. I wish I had gone grayer in tone in my stone. But I did find a gray rock that I can use as a prop that helps balance the color. I spend more time editing to get rid of the pink then I should have to. It has helped to cut out the natural light. Here are 2 pictures right out of my camera unedited. One on the more yellow rock that sometimes give pink undertones and the same earrings on the gray rock. They were taken during the same photo session, same light.
But the best part of my photography is that I finally took the plunge and bought a nice camera that I LOVE. I got a Canon Rebel XT. LOVE LOVE LOVE it! I use the white balance on my camera but sometimes I just put it on the dummy settings and get good shots without messing with it. I pretty much always take numerous pics of the same earrings in the same setting but adjust the white balance and exposure 2 or 3 times. Then I know I got the shot. Plus I may jiggle even with the tripod. Or if I use auto focus it may focus on the rock not the piece. I learned in my last session no matter how much you focus your camera you will never get the shot in focus if you do not have your glasses on. HA! I have a hard drive that is full of 3/4 bad shots 1/8 good shots and 1/8 am happy with shots after editing.
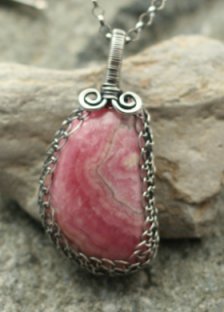
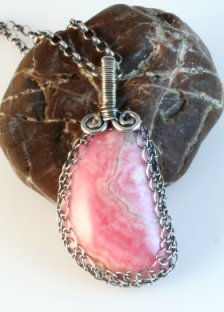
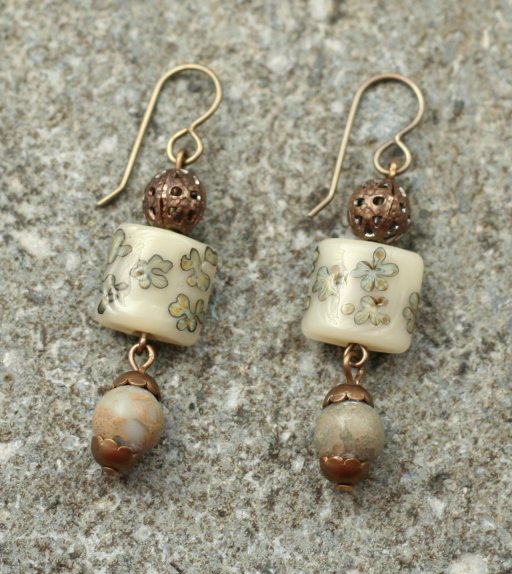
Tuesday, January 22, 2008

Watermelon Tourmaline

When I was pregnant with my first child Zachary I took a trip to Auburn, CA with the girls, a last hooray before he was born. I was mushing thru a Rock, Jewelry kind of store...your typical tourist shop. They had the most wonderful watermelon tourmaline slices. I spoke the the man about making me a pair or earrings as I have always luuvved that stone. At the time I could not with a conscience commit to buying them with all the baby furniture and other baby luggage to buy. But it has always been the the back of my mind. At that time I was not making jewelry. Now 3 some odd years later I was at the Tacoma Bead Show, my first outing by myself w/o the kids or hubby since they all were born, and what do I see....I wonderful strand of Rainbow Tourmaline watermelon slices. I had to buy them. Ever week since I pick them up and admire them and put them down. Then it hit me one day to USE THEM! So far here are my creations. I really wanted to showcase the stone. The earrings on the right are unoxidized sterling the set on the left is oxidized. I am not sure which one I like better. I do think I want to reshoot the picture of the unoxidized version as I am not 100% pleased with the results. It is difficult to shoot as the stone is translucent. These and other handcrafted jewelry are available on my website tekaandzoe.com.

Thursday, January 10, 2008

Updated Photo

After my last post I just did not feel like the picture of the last piece was good enough. I guess I have been struggling with my "style". My goal is to better my photography, of course for my customers so they can better see what they are buying, but also to better represent myself through my jewelry. To get into juried shows and galleries you have to have good photo's. Some on-line galleries or collective request white or light backgrounds so they have continuity in their website. I tried to go all white but it just rubbed me the wrong way. I guess I am not an all white kind of gal. So I got out the scrapbooking papers of which i have a zillion and tried the shot again. I really like it. It is clean yet not stark like the white...and some rocks because that is just more me.

Wednesday, January 2, 2008

Photo Re-Shoot

Here are picture of a necklace I made. First the old photo, second the new version. I am still not thrilled with the new one either. The stone seems to have a glare on it. It is a hand cut and polished Rhodochrosite. Gorgeous color and polish!! I made a net bezel for out of sterling silver. I may have to tinker with the photo some more.


This second set is a 7-3/4" in length bracelet. Lightly dapped hand stamped sterling disks formed into cups that hold a delightful selection of pearls, Amethyst stones, Swarovski Crystal, misc bobbles and hand made sterling charms. It has a toggle closure. The first shot is the original picture...Boy it is not even in focus. The second I like much better. I added back a rock. I think it adds a bit of interest.


Sunday, December 30, 2007

Five Simple Steps to Better Product Photography

1) In order to ensure your images are sharp, make sure you know how to focus your camera. Digital cameras with auto focus are often difficult to focus precisely, especially when shooting small objects. Read your owner's manual and be sure you understand how your camera's auto focus operates. Most digital cameras are designed to easily focus on large objects but have difficulty on small subjects. It is often useful to put your camera in spot focus mode. Spot focus will give you more control over what part of a scene the camera is actually focusing on.
2) Use a tripod, even the slightest movement while taking a picture will cause motion blur. The closer you get to an object the more obvious the motion blur becomes. Even an inexpensive tripod will make a big difference in the sharpness of your images. For really sharp images it makes sense to invest in a good, sturdy tripod. If your camera has a remote shutter release then use it, if not then use the camera's built-in timer to minimize camera shake.
3) To get the largest area of your subject in focus put your camera in aperture priority mode and set the aperture to the highest number possible. The closer you get to your subject the more important this becomes.
4) Use soft lighting. Your camera's built-in flash will rarely give good results for product photography. For soft lighting either shoot outside on an overcast day or use a light tent like the EZcube®, or use a soft box.
5) Use image editing software. Even inexpensive software like Photoshop Elements™ can make your product photography much easier. It may seem like it's faster to use an image exactly as it was shot. But in reality, it is difficult to shoot an image precisely how you would like it to appear in it's final form. Image editing software allows you to crop an image, adjust it's exposure, sharpen the image and then resize it, often in less than 60 seconds.
The biggest difference between an amateur's product snapshot and a professional's product image are sharpness and lighting. Steps 1,2, and 3, will improve the sharpness of your images while Step 4 will improve your lighting. A minute spent editing an image will improve it further. Because these few steps seem so basic, it's tempting to ignore them. However, if you take the time to follow them, you will see a huge improvement in the quality of your images.


Thank-you EZcube®, for letting my steal your tips.


Photo Tips from EZ Cube

I have set up EZ Cube and am playing with it I hope this is my LAST photographic equipment purchase. (that is of course unless I must have the under-lighting table) It seems to be working. I have tweaked my style a bit. I removed all the cool rocks as I felt they were distracting and not enough contrast. I have gone all white. But it is to white? I may try adding one special rock or other natural item and see how it goes. I did use a branch of the Contorted Filbert bush to hang my earrings from. I grew the plant myself...OK I killed it and saved the branches..not meaning to of course(kill it that is). I fear my green thumb is similar to my photo skills.

Here are some tips from EZ Cube of exposure:

~Avoiding dark images when shooting against light backgrounds~
Cameras tend to underexpose images when capturing subjects with white or very light backgrounds. The easiest way to prevent dark, underexposed images is to use exposure compensation.
Most digital cameras have fairly easy-to-access exposure compensation controls (labeled as "EV" for Exposure Value). If your images are too dark, try adjusting the exposure compensation. A setting of +1 is a good place to start. If you end up setting the EV too high, the image will appear "washed out". Simply go back step or two until the exposure looks right.
View the different EV settings below. This demonstrates how changing a camera's exposure compensation setting can avoid exposure problems. In this example shot against a white background, the standard setting of 0 is too dark. An EV setting of +1.3 seems best for this shot.
For more photo tips and to see the EZCube visit http://www.ezcube.com/.
EV -1
EV 0
EV +1
EV +1.3
EV +1.6

Thursday, December 20, 2007

Photographing Jewelry...more

I got my photo set up and have been playing. I decided to get the EZ-Cube (http://store.tabletopstudio-store.com/). I think I may have FINALLY found something that is going to work out for me. I also invested in a tripod. I just could not get clear shots without it. Also instead of the granite rocks I use as the backdrop I switched to an all white background. I think that it is less distracting. I may have to get another light though...not sure. I am asking experts for advise on the shots that I did took tonight. I don't know if I can just lighten the pics in Paint Shop Pro or add another light to my set up. I did lighten the picture that you will see below but really feel it needs to be lighten more. the beautiful stones just do not glow like they should. Lighting aside I can already tell the shots are clearer. I also had to adjust the exposure compensation on my camera and open up the aperture all the way using manual setting. I also use manual focus. I am not sure I mentioned that I use a Canon Rebel XT (that I love).
Original Shot:


Improved:

This necklace is Apatite in 2 colors. The disc shaped beads are ancient Roman glass. I love the colors..its a new favorite of course.

Tuesday, December 11, 2007

Photographing your Jewelry or other items for the Web

I have always been an amateur photographer. Buying new equipment hoping it would help. Only to discover once again....IT IS NOT the equipment...but sadly the photographer. But I think I finally got the set-up correct. Here are some of my first test shots to show you how lighting can affect your digital pictures. This is the same pair of earrings on the same background. All I did was change the lighting. I did not change the settings on my camera. One may have been a flash, one fluorescent lights, one I may have added an Ott light.

At that time I must use my new favorite word: Annoying!!
You see having 3 children and another website that keeps my busy I have spare minutes to work on my love, the Jewelry. So it is a time thing. I just don't have time to figure all this out. But instead of making another pair of earring that I am DIEING to do I have to read about photography. I guess it is all a matter of white balance on your camera and good lighting but not to harsh. I finally after many years of waiting bought a new digital camera, a Canon Rebel XT. I love it by the way. I have messed around a bit with the settings. More of that in another post.
Back to lighting....Connie Fox has some very good tips on a set up to help get good lighting without glare:
http://www.jatayu.com/Education/StudioTour/ST-DigitalPhoto.htm
In a coming post I will take a picture of my set up. It is very similar to Connie's idea but I do not use a bucket. She also has some VERY good insight in to photographing your Jewelry. I do have some professional photo lights from past foray's in to photography and they have plastic shields on them that are suppose to diffuse the light. But it was not enough with all that bling I am shooting. So I got a kind of photo box/tent kind of thing. In fact I borrowed one from a friend to make sure it would work before I once again purchased more photo equipment. I did vow to STOP buying equipment! The box/tent thing seems to work so I am investing in my own. I am getting reasonable good pictures now. Here is a better picture of the earrings above:

I am now going to try to take picture of my Jewelry on a white background. I am not to sure that the backgrounds I am using are distracting. My setup currently uses granite and other rocks as the backdrop.

LinkWithin

Blog Widget by LinkWithin